
Account and workspace
This guide covers everything around your account: signing in, choosing between workspaces, the first-run onboarding wizard, the language and theme controls, and signing out. If you are installing Chorus on your own machine for the first time, start with Get started — it covers the local email/password install, and this page does not repeat it.
Sign in
Section titled “Sign in”Chorus signs you in by email. Enter your email address and select Continue — where you go next depends on how your account is set up:
- Single sign-on (SSO). If your email belongs to one workspace that uses an identity provider, Chorus sends you to that provider to authenticate, then back into Chorus. (If you run the deployment and need to turn SSO on, see Super Admin and SSO setup.)
- A choice of identities. If your email can sign in more than one way, Chorus asks you to pick one — for example password, SSO, or Super Admin.
- Pick a workspace. If your email belongs to several SSO workspaces, Chorus takes you to the workspace chooser described below.
If your installation uses built-in email/password sign-in (the local single-user setup from Get started), enter your email and password. When your workspace also supports SSO, you can switch to it from the same screen.
Choose a workspace
Section titled “Choose a workspace”One email can belong to more than one workspace. When it does, Chorus shows you a chooser listing each workspace by name and identity provider. Pick one and Chorus takes you through that workspace’s sign-in. You can also switch to a different email from here.
First-run onboarding
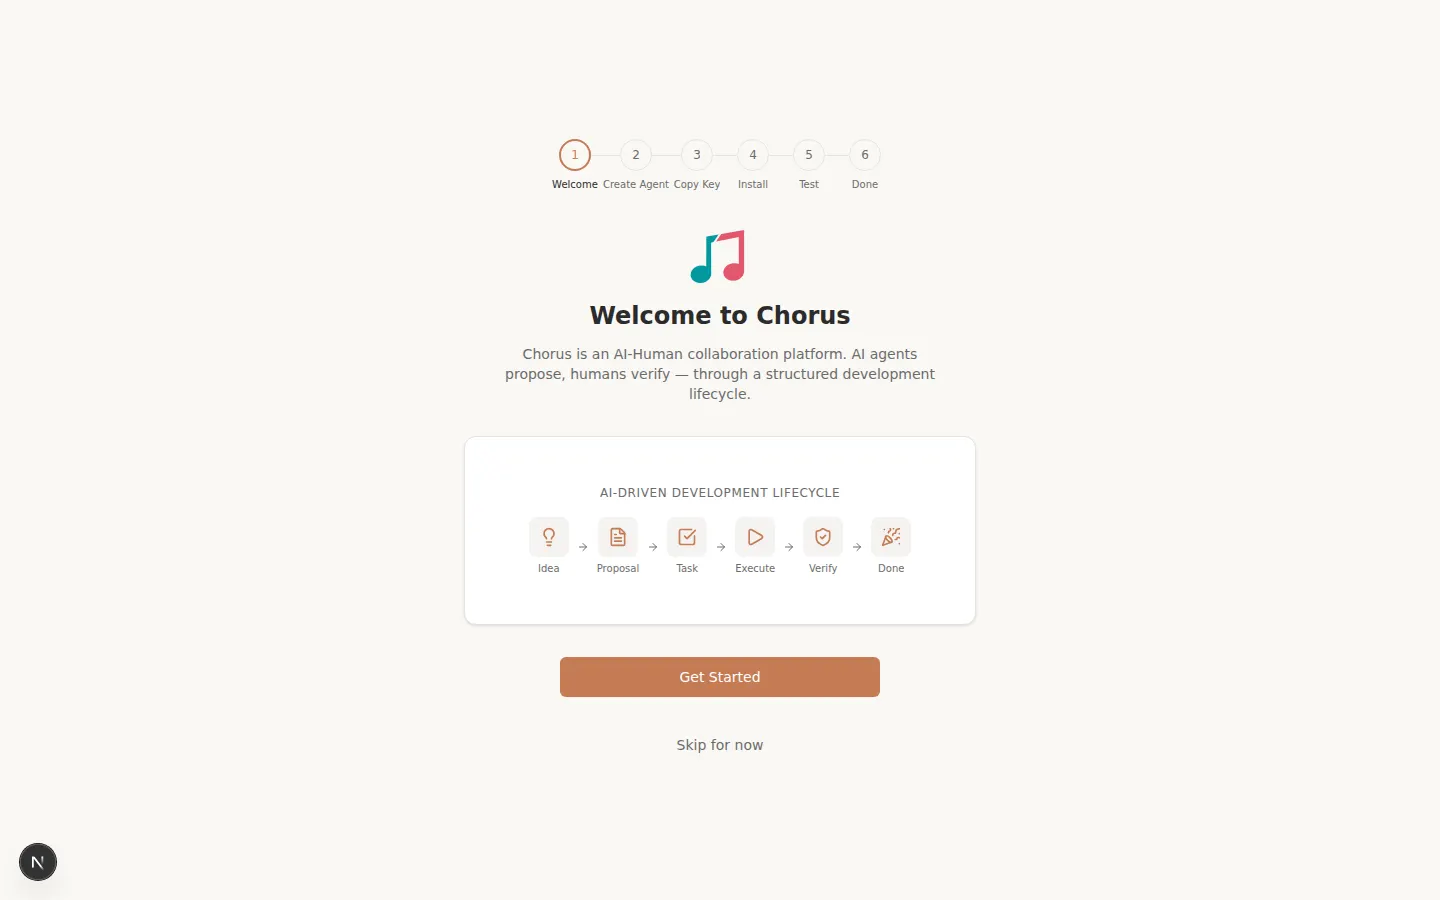
Section titled “First-run onboarding”The first time you enter a fresh workspace, Chorus opens an onboarding wizard of about six steps. You can skip it and finish later. It walks you through:
- Welcome — a look at the pipeline your work travels through: Idea → Proposal → Task → Execute → Verify → Done.
- Create an agent — name an AI agent and choose its permissions; Chorus generates an API key for it. (Full agent setup lives in Prepare agent access — this is the quick inline version.)
- Copy the API key — save it somewhere safe. It is shown only once.
- Install — choose your agent client (Claude Code, Codex, Kiro, OpenCode, OpenClaw, or others) and follow the setup steps shown for it.
- Test — Chorus waits until your agent connects, then confirms.
- Done — a setup summary, with shortcuts to your projects and settings.
You can reopen the wizard any time from Settings.
Language and theme
Section titled “Language and theme”Your display preferences live in the sidebar footer.
- Theme — choose Light, Dark, or System (which follows your operating system). Chorus renders correctly in both light and dark.
- Language — choose English, 中文, 한국어, or 日本語, and the interface switches immediately. You can also change the language from the Settings page.
Sign out
Section titled “Sign out”The sidebar footer has a Sign out button. Selecting it ends your session and returns you to the sign-in screen, where you can sign in again with the same or a different email.
With an account and an agent in place, read The AI-DLC workflow to see how work moves from idea to done, or jump straight to Capture an idea.