
Super Admin and SSO setup
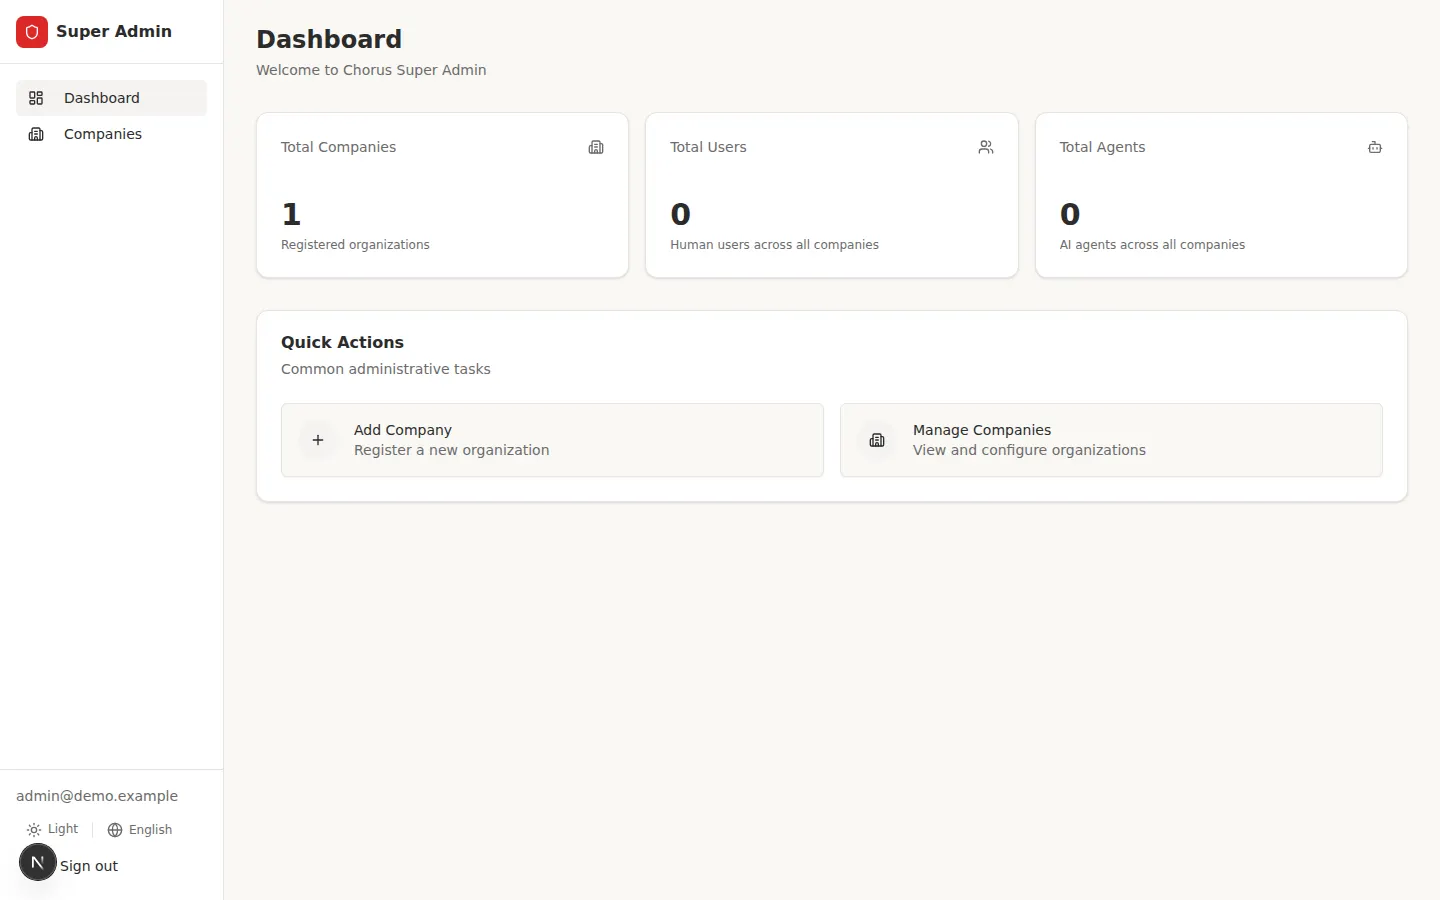
Most of Chorus is workspace-scoped, but one role sits above the workspaces: the Super Admin. It is how you create workspaces and turn on single sign-on (SSO) for your team. This guide is for whoever runs the Chorus deployment; end users who just need to sign in should read Account and workspace.
Enable the Super Admin
Section titled “Enable the Super Admin”The Super Admin is a platform-level login, separate from any workspace. You enable it on the server with two environment variables — the admin email and a bcrypt hash of the admin password:
SUPER_ADMIN_EMAIL="admin@example.com"SUPER_ADMIN_PASSWORD_HASH="$2b$10$..." # bcrypt hash of your passwordGenerate the hash with a one-off command, for example:
node -e "console.log(require('bcryptjs').hashSync('your-password', 10))"Keep the bcrypt hash in your deployment’s secret store. Admin sessions also need a secure NEXTAUTH_SECRET: the npm chorus launcher and Docker entrypoint can generate and persist it for one instance. Set the same value explicitly on all replicas. See Docker session secrets.
Sign in as Super Admin
Section titled “Sign in as Super Admin”There is no link to the admin panel inside the app — you reach it through the normal sign-in screen. Enter the Super Admin email; Chorus recognizes it and asks for the admin password on a dedicated step, then opens the Super Admin panel. The admin session is independent of any workspace and is shorter-lived than a normal session, so you sign in again periodically.
Create a workspace
Section titled “Create a workspace”In the Super Admin panel, Companies lists every workspace with its email domains, OIDC status, and user and agent counts. Use it to create, edit, and delete a workspace.
When you create one, you give it a name, one or more email domains, and its SSO settings (below). The email domains are what let a person’s email find this workspace at sign-in.
Configure SSO (OIDC)
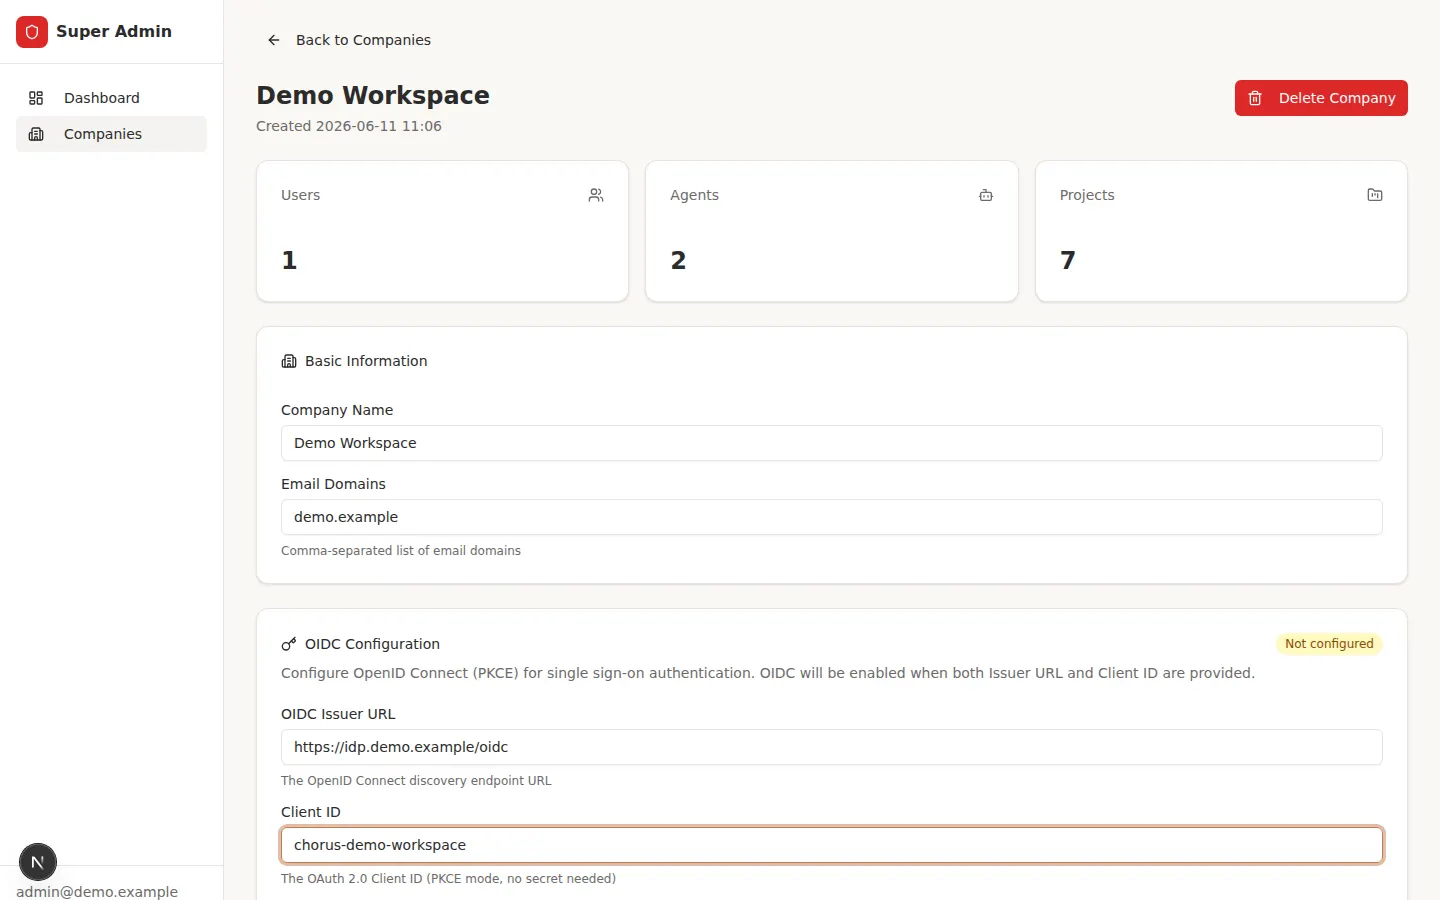
Section titled “Configure SSO (OIDC)”Chorus signs users in through your identity provider using OpenID Connect with PKCE — there is no client secret to manage. You configure it per workspace, in that workspace’s settings in the Super Admin panel, under OIDC Configuration. Two values are required:
- OIDC Issuer URL — your provider’s OpenID Connect discovery URL.
- Client ID — the application’s client ID from your provider.
SSO turns on automatically once both are set; clearing either turns it off. Chorus requests
the standard openid profile email scopes.
At your identity provider, register Chorus as an application and whitelist its redirect
(callback) URL, which is your Chorus site’s address followed by /login/callback. The
Companies list shows the exact URL to copy — it is built from the address you actually visit
Chorus at, so open the Companies page from your production URL and copy the value shown
there.
How this reaches your users
Section titled “How this reaches your users”Once a workspace has SSO configured, a person signing in with an email on one of its domains is sent to your identity provider and back — the flow described in Account and workspace. A user whose email matches more than one SSO workspace is asked to pick one. Someone already added to a workspace resolves to it even if their email domain differs.
With workspaces and SSO in place, hand day-to-day setup to each workspace’s operators: Prepare agent access covers creating agent credentials, and Account and workspace covers what your users see when they sign in.